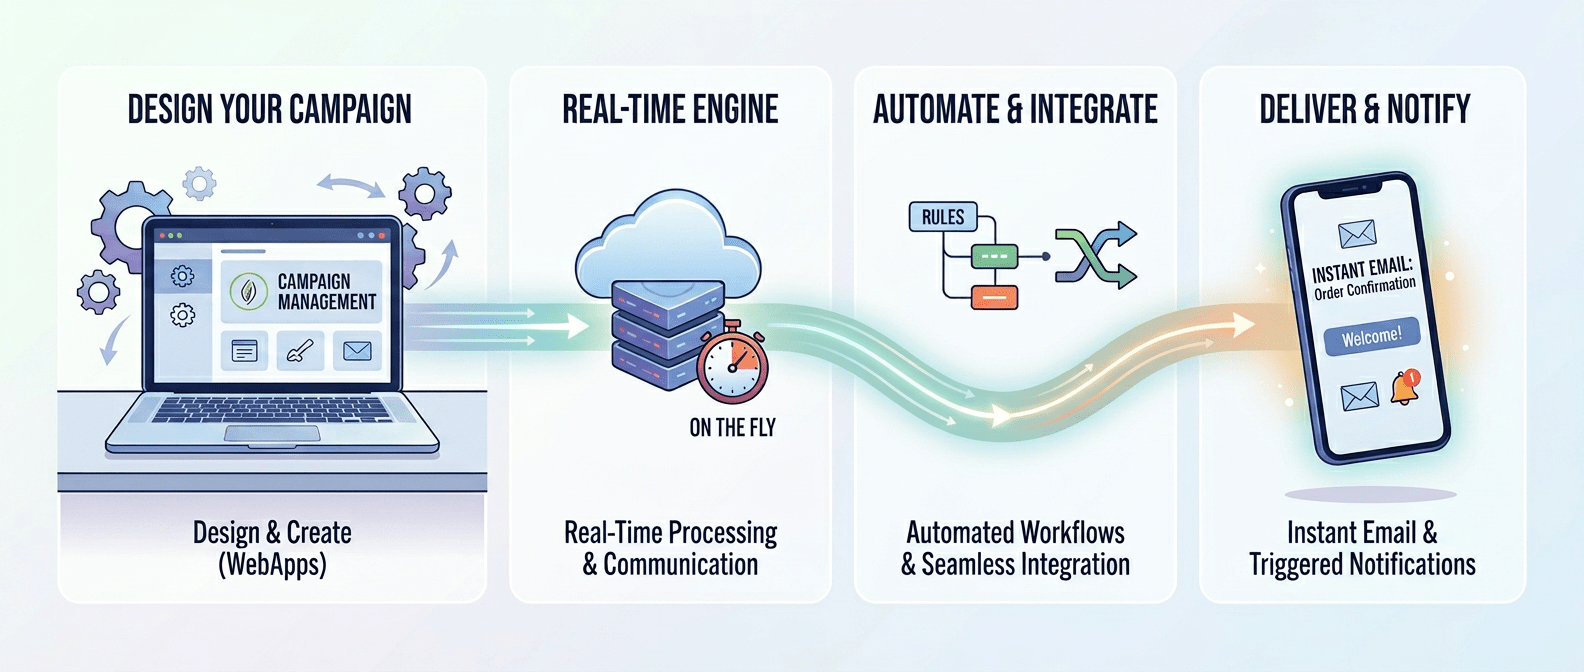

A straightforward method to trigger notification deliveries on the fly from within an Adobe Campaign WebApp, without relying on a workflow to execute the delivery phase. This approach is well suited for sending low-volume, event-driven notifications triggered by user actions such as profile changes, preference centre updates, or password resets.
Temporary data is captured in the WebApp context and the delivery target XML is enriched with those values, which are then rendered by the delivery template.
Basic Usage — SubmitNotification
The simplest approach uses SubmitNotification, which both creates and sends the delivery in a single call:
var scenario = 'DM6885'; // Delivery template internal name
var recipientId = 13250506; // Target recipient ID
var deliveryId = nms.delivery.SubmitNotification(
scenario,
<delivery>
<targets>
<deliveryTarget>
<targetPart exclusion='false' ignoreDeleteStatus='false'>
<where>
<condition expr={'@id=' + recipientId}/>
</where>
</targetPart>
</deliveryTarget>
</targets>
</delivery>
);
Targeting
You can target all recipients in a folder by modifying the condition expression:
// Target all recipients in folder with ID 1050 <condition expr='[@folder-id] = 1050'/>
Explore the Adobe Campaign JSAPI documentation for further targeting options.
Template Configuration
To enrich the delivery with dynamic data captured from the WebApp, configure delivery variables on the template. Navigate to template Properties > Variables and define a variable for each data point you wish to personalise.
Reference these variables in the HTML template as follows:
First name: <%=variables.firstName%> Last name: <%=variables.lastName%> Telephone: <%=variables.telephone%> Email: <%=variables.email%> Requirements: <%=variables.requirements%> Availability: <%=variables.availability%>

Enhanced Usage — CreateFromModel with Variables
When delivery variables need to be populated before sending, use CreateFromModel to create the delivery object first, assign the variable values, then call PrepareFromId to analyse and send:
var scenario = 'DM000'; // Delivery template internal name
var recipientId = 123567; // Target recipient ID
var xmlTarget =
<delivery>
<targets>
<deliveryTarget>
<targetPart exclusion='false' ignoreDeleteStatus='false'>
<where>
<condition expr={'@id=' + recipientId}/>
</where>
</targetPart>
</deliveryTarget>
</targets>
</delivery>;
// Create delivery from template
var model = nms.delivery.CreateFromModel(scenario, xmlTarget);
var delivery = nms.delivery.create(model);
// Assign variable values from WebApp context
delivery.variables._var[0].stringValue = ctx.vars.availability.toString();
delivery.variables._var[1].stringValue = ctx.vars.requirements.toString();
delivery.variables._var[2].stringValue = ctx.vars.email.toString();
delivery.variables._var[3].stringValue = ctx.vars.telephone.toString();
delivery.variables._var[4].stringValue = ctx.vars.lastName.toString();
delivery.variables._var[5].stringValue = ctx.vars.firstName.toString();
delivery.save();
nms.delivery.PrepareFromId(delivery.id); // Analyse and send
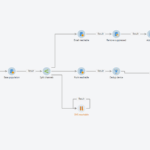
In the following webapp example, recipient makes changes to their profile, these temp values are pre-processed (stored in custom schema or recipient schema) and then notification email is triggered to recipient about the recent changes, note that the recipient ID is hardcoded in this case for testing purposes
.